









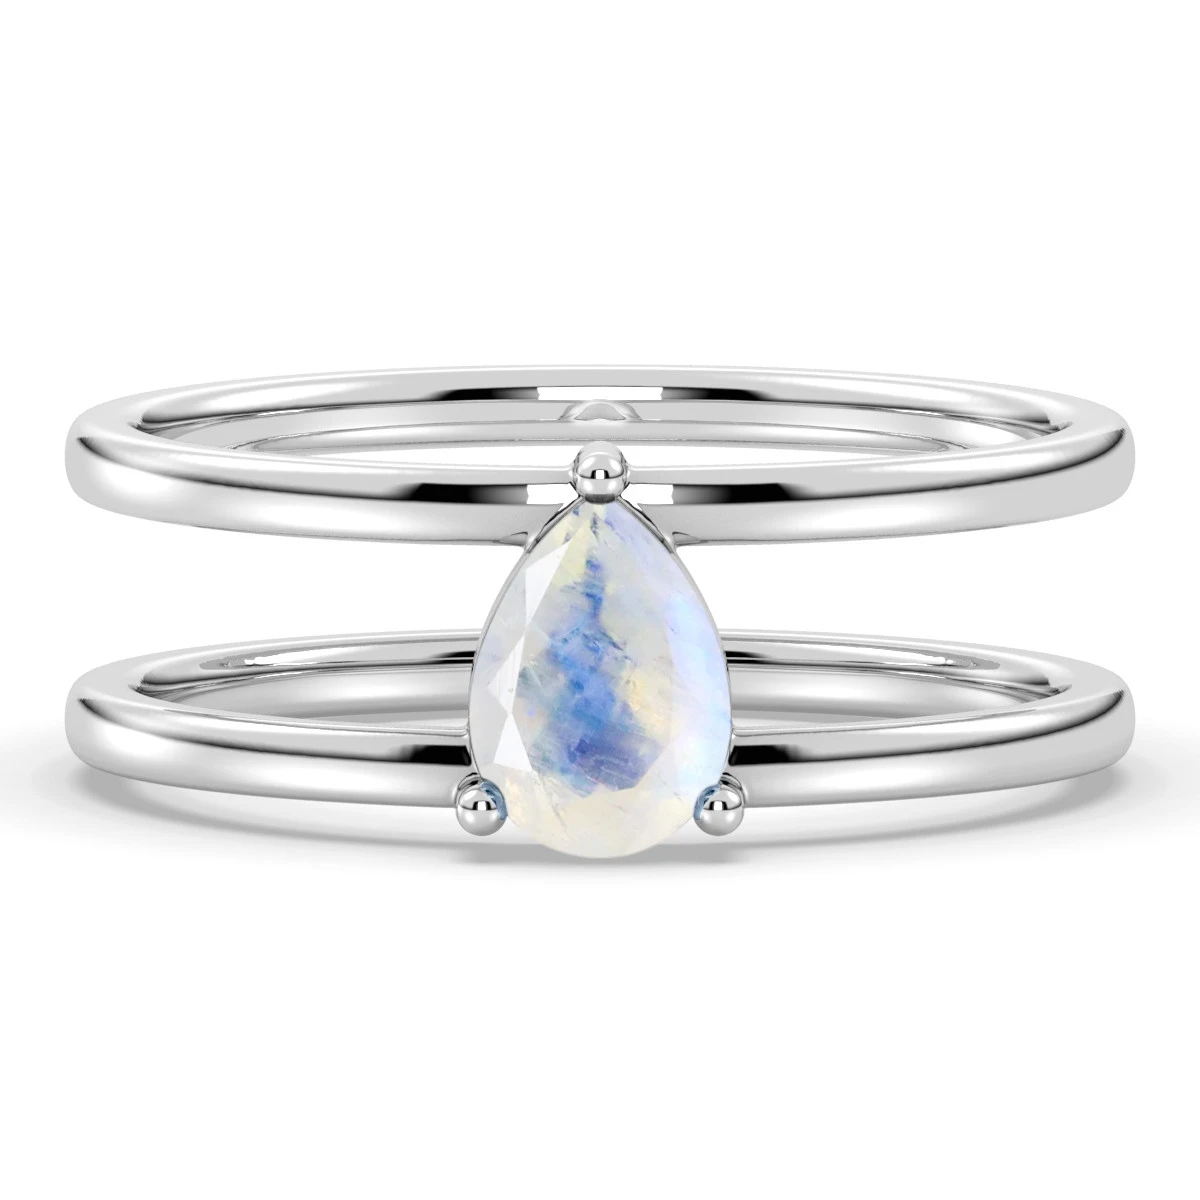
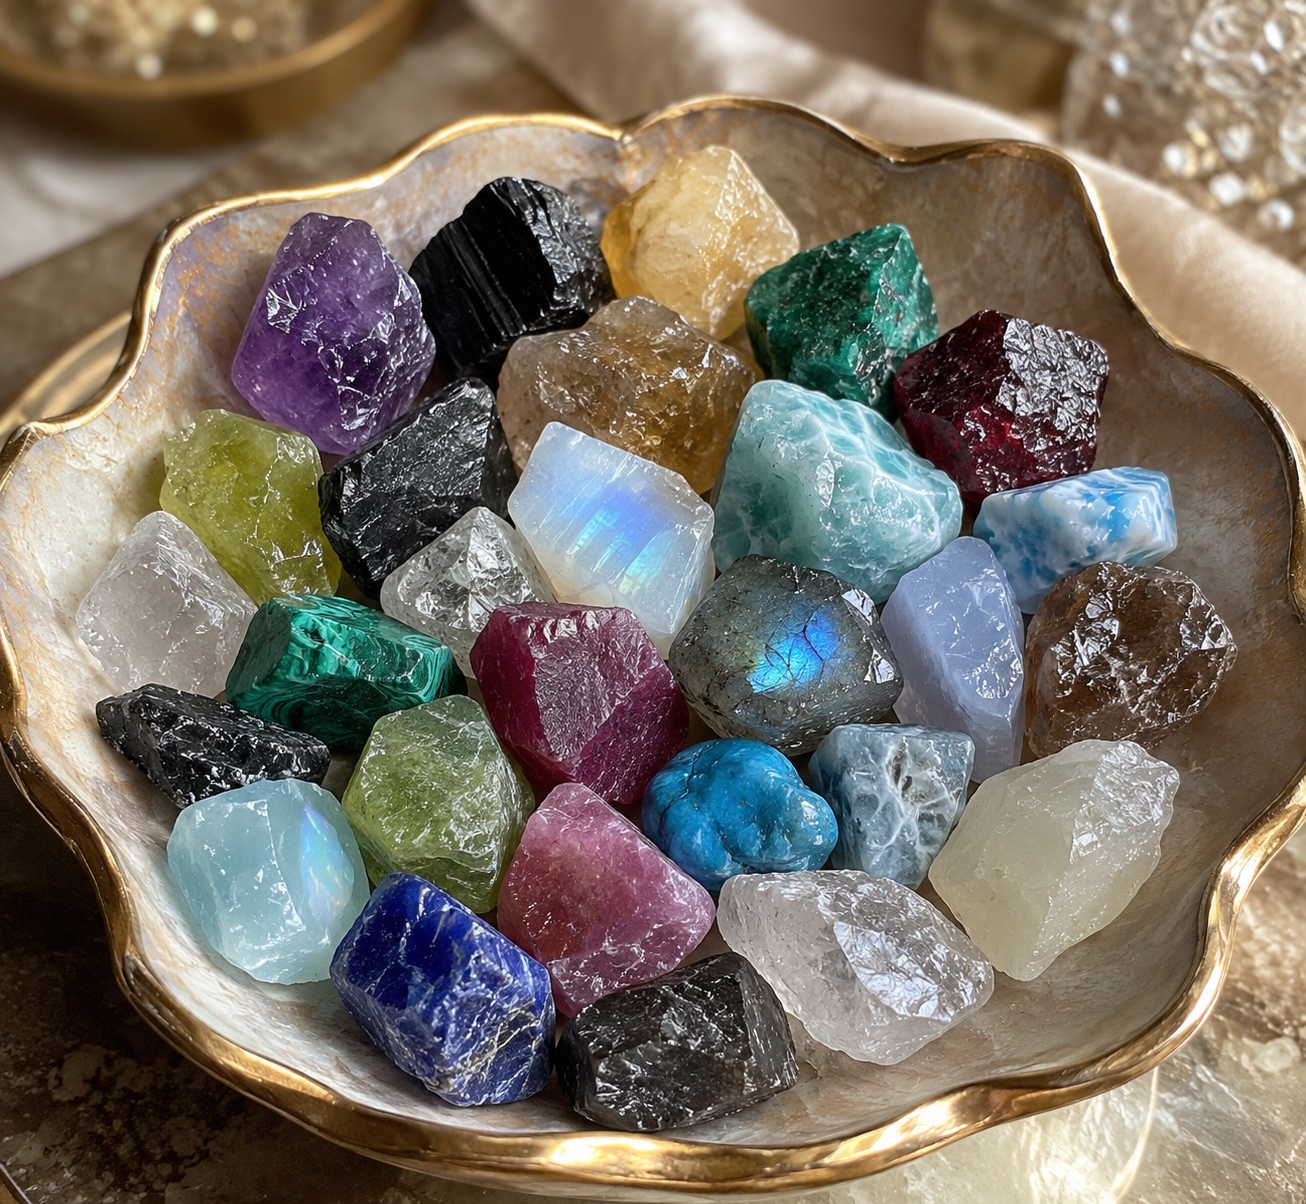

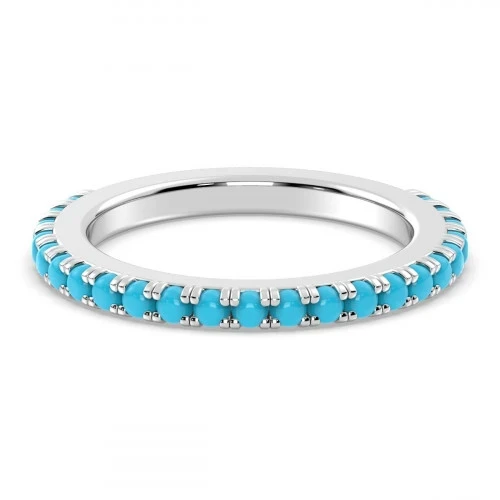
In the world of jewelry, turquoise jewelry has been quite popular for the vibrant color, spiritual significance, and timeless appeal that it carries. A few to name are Sleeping Beauty turquoise that carry a sense of modernity within them. For people who love creativity, they can resort to making turquoise rings of their own at home. This ensures that the turquoise ring gets its own personal touch and is both creative and cost-effective. It is also a practical approach for gifting purposes to your loved ones.
Keep reading to find a step-by-step DIY guide and learn how to make a turquoise ring using basic tools and techniques.
Materials You’ll Need
Before starting, gather the following materials:
Genuine turquoise stones (go for high-quality stones for durability)
Silver or gold ring setting (perfect for gold turquoise engagement ring styles)
Jewelry adhesive or bezel setting tools
Polishing cloth and buffing materials
Soldering kit (optional for advanced designs)
Small jewelry pliers and tweezers
Step-By-Step Guide
Below are the mentioned steps that you need to follow in order to get finished handcrafted DIY-crafted turquoise jewelry:
Step 1: Choose the Right Turquoise Stone
Selecting a high-quality turquoise stone becomes crucial, as it is directly related to the durability and aesthetic of the jewelry. Prefer the one with natural patterns and vibrant color and one that is from verified sources, such as Sleeping Beauty turquoise, and more. These are essential.
Step 2: Prepare Your Ring Setting
Ensure that the base of the ring is strong enough to support adhesive and longevity. So, irrespective of whether you are using a gold, silver, or custom-made setting, ensure that you remove the dirt present on it so that it is ready for the stone placement. In this way at the end of the process, you will get designer turquoise engagement jewelry ready!
Step 3: Set the Turquoise Stone
There are two common ways to secure your turquoise:
Bezel Setting: Perfect for beginners, as it requires a classic method wherein the metal surrounds the stone. This is a common approach for handcrafted turquoise jewelry.
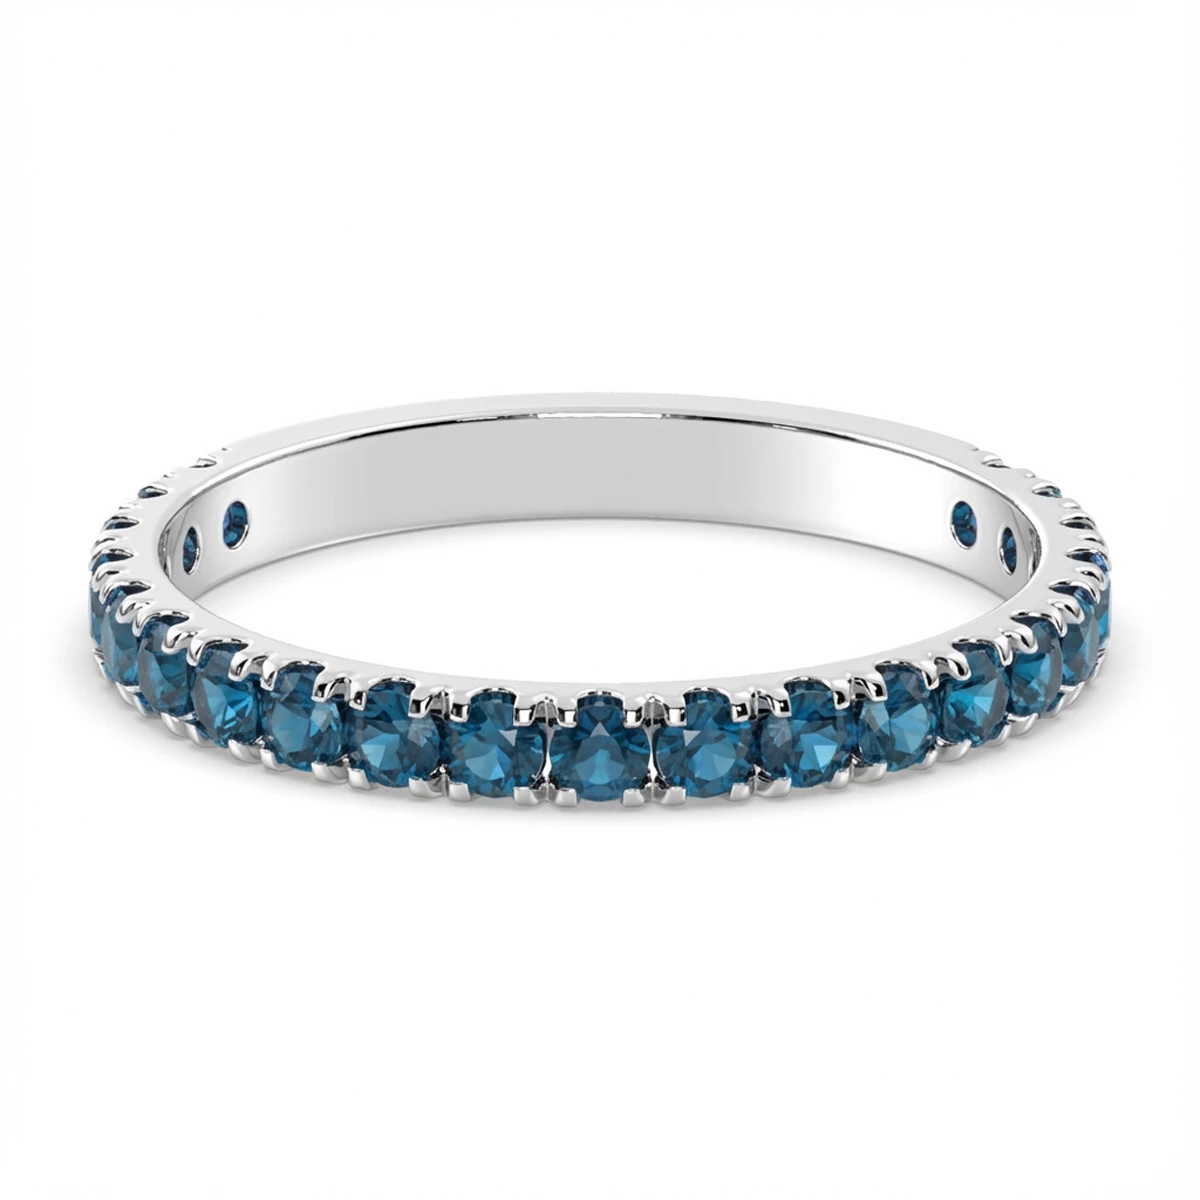
Prong Setting: People who are inclined to an advanced style where the stone is held with small metal prongs can prefer this setting. This enables the light to reflect perfectly, hence rendering a premium look.
Apply jewelry adhesive carefully if needed and let it dry for a few hours.
Step 4: Polish and Finish Your Ring
Once the stone is secured, use a polishing cloth to bring out the shine. This turquoise jewelry.
Step 5: Wear and Enjoy!
Your handmade turquoise ring is now ready to wear! Whether you crafted a women's turquoise engagement ring, a men's wedding ring with turquoise, or a diamond turquoise band, you now own a one-of-a-kind piece.
Bonus Tips for Jewelry Making
A few of the bonus tips that can help you in your jewelry making are
Buy authentic turquoise rings in bulk or wholesale.
Experiment with settings, such as a nest, a turquoise ring, or turquoise and diamond band styles.
If you love brands like Tiffany & Co. turquoise, use high-quality metals to enhance your design.
Final Thoughts
Whether you're making a simple turquoise bead ring or an intricate turquoise and diamond band, each piece carries a unique touch. With patience, the right materials, and attention to detail, you can craft a stunning piece of jewelry that you’ll cherish for years to come.
For an authentic turquoise ring and more jewelry pieces, visit BAUTLR today and upgrade your style today. Happy Crafting!